Migrating this site to EmDash
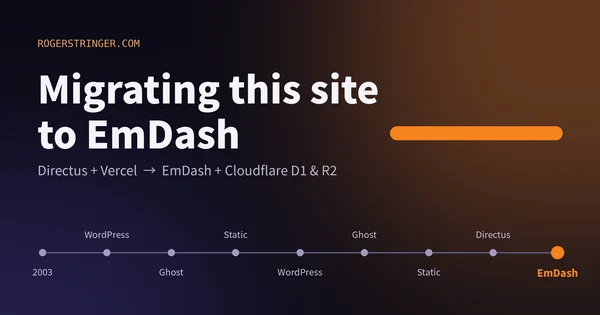
This site has changed CMS more times than I can count since 2003. This time I moved to EmDash on Cloudflare, and the reason is that most of my building now happens alongside an AI agent.
Read more Roger Stringer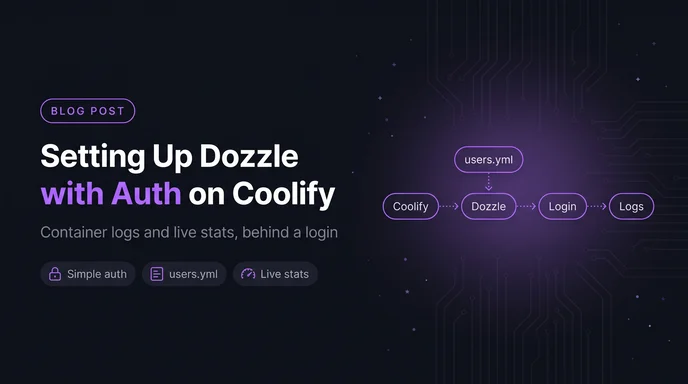
I've been running Coolify for a while now and it's become my default for self-hosting. Most of what I run sits on one box behind it, which is the whole setup I walk through in The Boring Stack.
The gap I kept running into: no quick way to see what all those containers were actually doing without SSHing into the box and running docker stats for the hundredth time.
Dozzle fills it.
A single binary that reads your Docker socket and renders the logs in a browser. No database, no agent, no log shipping. It streams what Docker already has.
Nothing gets stored, so there's nothing to size, rotate, or back up. Restart it and you pick up the live stream again.
On top of the tail you get search, filtering by level, and jump-to-timestamp while the stream keeps running. JSON logs get parsed into fields, and multi-line stack traces stay grouped instead of shredding into 40 separate rows. There's live CPU, memory and network per container, and you can exec into a container straight from the browser.
I'd used it years ago as a plain log viewer and then forgot about it. It's come a long way since.
Coolify shows you logs, but per resource. Click into an app, then its logs, then back out, then into the next one. That's fine when you already know which service broke. Less fine at 11pm when you don't.
Dozzle gives you every container on the box in one list, including the ones Coolify runs on your behalf: the proxy, your Postgres, Redis, whatever else got pulled in along the way. When something's off and you're not sure where yet, that single list earns its keep.
The live CPU and memory is the other half of it. docker stats tells you the same thing, but you have to be SSHed in, and it's gone the moment you close the window. Having it sitting in a browser tab is a different habit.
This gets more useful the more containers you're running, so if you've got an agent stack on there (n8n, Directus, a couple of MCP servers, all talking to each other) it's worth the ten minutes. I go through building that stack in Self-Hosting the Agentic Stack.
One thing Dozzle won't do is keep history. Restart a container and its old logs go with it. For anything you'll want to search next week, you still need real log storage somewhere. Dozzle is for right now.
Dozzle ships with no authentication, and your container logs are about the last thing you want sitting on a public URL. Anyone who finds the hostname can read every env-var-shaped mistake you've ever made and exec into your containers while they're at it.
Adding authentication isn't hard, but the Dozzle docs and the Coolify template don't quite line up, so I ended up piecing it together from a few different places. Writing it down here so I don't have to do that again next time.
It's two moving parts: the DOZZLE_AUTH_PROVIDER=simple env var, and a users.yml file sitting at /data/users.yml inside the container with bcrypt-hashed passwords in it.
The Coolify template sets the env var for you. The file is the part you supply, and Coolify has a spot for exactly that, buried one level down in the UI.
Resources → + NewDozzle With Auth, not the plain oneService Name to dozzleSaveLeave it stopped for now. Without the users file it'll come up and then refuse to let you in.
Wherever you've got Docker handy, generate the entry:
docker run -it --rm amir20/dozzle generate admin --password YOUR_PASSWORD --email YOUR_EMAIL_ADDRESSadmin is the username you'll actually type at the login screen. The email is optional and only gets used for a Gravatar. The command prints a small block of YAML with the password already hashed, so copy all of it.
Back in Coolify: left sidebar → Persistent Storages, then the Files tab. Paste that YAML into the Content box and hit Save below the text area. That's your /data/users.yml.
If you want more than one login, run generate again with a different username and paste both entries into the same file. There's also a --user-filter flag if you want to scope someone to specific containers.
Under Services → Settings, set Domains to whatever hostname you want Dozzle living on. Coolify takes care of the proxy and the cert.
Then hit Start (or Restart if you already started it).
Log in with the username and password you passed to generate, and you've got live logs plus CPU and memory for every container on the server, behind a login.
This site has changed CMS more times than I can count since 2003. This time I moved to EmDash on Cloudflare, and the reason is that most of my building now happens alongside an AI agent.
Read more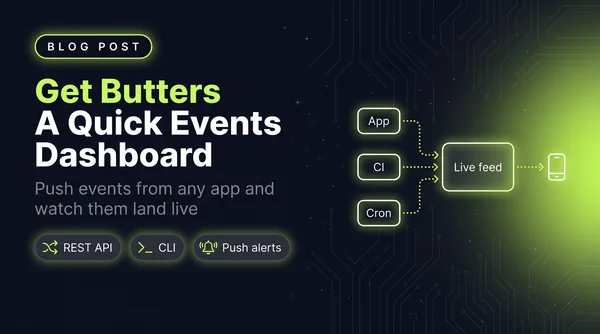
I wanted a simple dashboard that showed me events as they happened, so I wrote a quick little Astro app. It grew into Get Butters: a real-time event feed with a REST API, a CLI, insight cards and push alerts.
Read more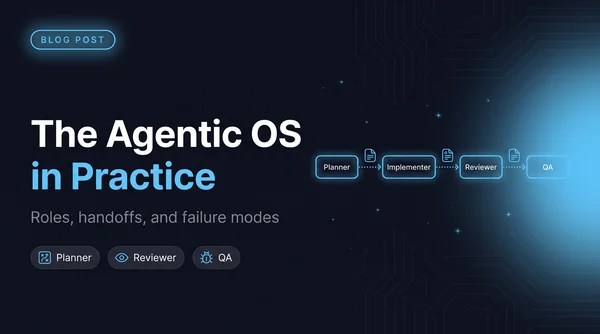
Once four agents can edit the same repo, architecture stops being the hard problem and coordination starts. The five roles I run and what each one is forbidden to touch, why every handoff goes through a file, a worktree script so agents stop racing, and the failure modes worth naming.
Read more